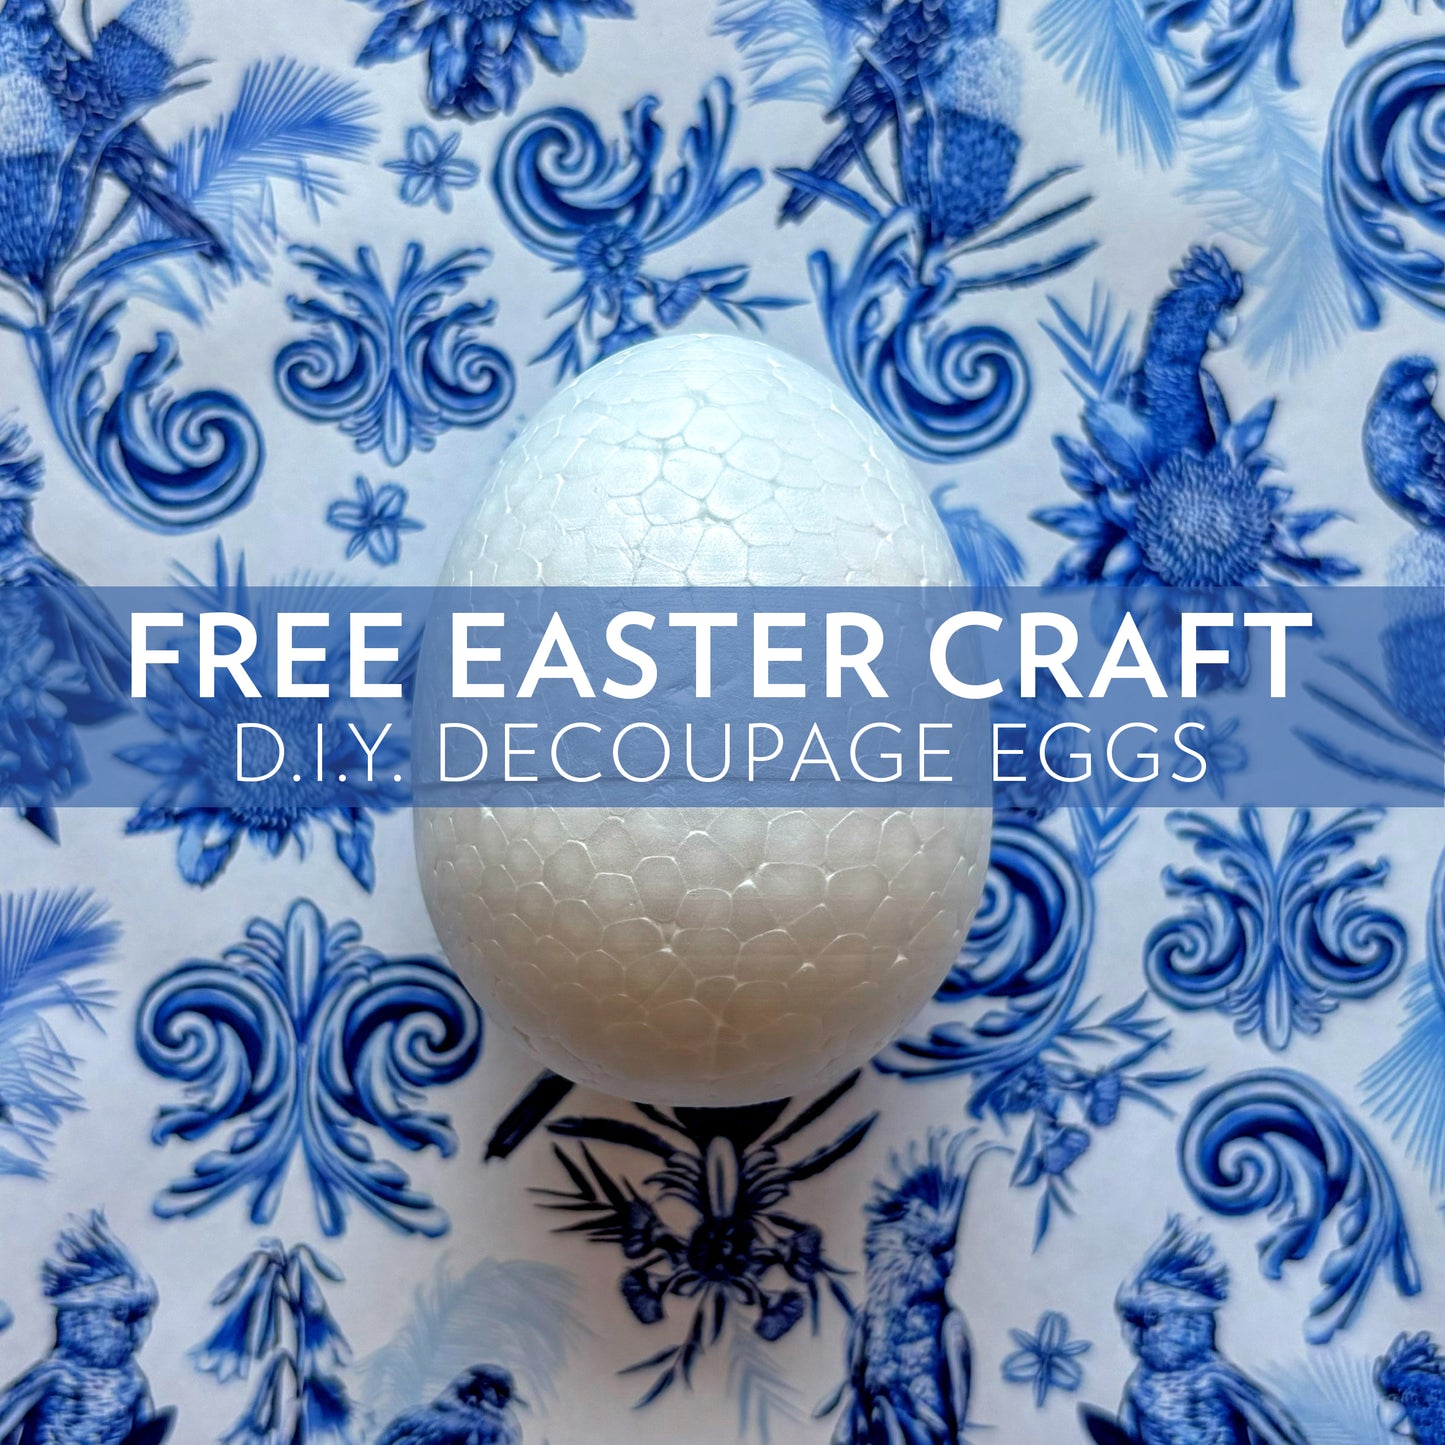

Elevate Your Easter: Decoupage Eggs with Our Free DIY 'Dynasty of Nature' Printable Design
Easter is a time of renewal, celebration, and creativity. While traditions like egg hunts and dyeing eggs are timeless, there's always room to infuse some fresh ideas into your Easter festivities. If you've been looking for an easy fun craft to do this Easter, why not try something different and elevate your Easter decor with decoupage eggs featuring our stunning 'Dynasty of Nature' printable design? This DIY Easter activity can be enjoyed at home by yourself, with friends and is also kid-friendly!
In this blog post, we'll guide you through the simple steps to create exquisite decoupage eggs that will dazzle your guests and add a touch of Australian nature-inspired elegance to your Easter celebrations.

Step 1: Materials Needed For Decoupage
Gather your materials before diving into the creative process. For decoupage you will need the following materials:
- Hard-boiled or blown-out eggs OR fake polystyrene eggs (can be purchased at Lincraft, Spotlight, Kmart and Big W.)
- Our 'Dynasty of Nature' printable design (CLICK THIS LINK TO DOWNLOAD) It is formatted for A4 printers and can be printed on normal standard printer paper. We suggest waiting at least 20 mins for the ink to dry before proceeding.
- Scissors
- Mod Podge or white glue
- Wide paintbrush
- Wooden skewers & empty cardboard box or similar
- Optional: glitter, sequins, or other embellishments
Step 2: Download & Print
Start by downloading the 'Dynasty of Nature' printable design from our website. Once downloaded, print the design on a standard printer paper at A4. Carefully trim the white edges and line up your egg on the design - we found for 10cm polystyrene egg, folding the paper in half and cutting it was the perfect size.
Now use the scissors to cut the edges of the top and bottom of your patterned paper into a fringe. This is to help the application onto the egg!
Step 3: Prepare the Eggs
Real Eggs:
Prepare your eggs by either hard-boiling them or blowing out the contents. If you choose to blow out the eggs, gently poke a small hole in each end of the egg and blow the contents out into a bowl. Rinse the emptied eggs thoroughly and allow them to dry completely before proceeding.
Fake Eggs:
We used polystyrene eggs for our example - pierce the base of the egg with a wooden skewer and insert the other end of the skewer into the cardboard box - this will be your temporary stand for applying the cut-outs and will allow the glue to dry without coming into contact with any surfaces.

Step 4: Apply the Design
Now comes the fun part! Using a paintbrush, apply a layer of Mod Podge or white glue over the entire surface of the egg. Carefully place the cut-out design onto the glue-covered area and gently smooth it out with your fingers or a wooden skewer to remove any air bubbles or wrinkles. Continue this process, paying special attention to the top and bottom fringed paper cuts until they start to sit neatly. Following this, you should now use the paint brush to paint a top coat of mod-podge, completely covering your papered egg. (Don't worry - it will dry clear!) You can add additional bits of glitter, sparkles or other light weight accessories to your eggs if you're feeling adventurous!

Step 5: Seal and Finish
Once you've applied all the design elements and embellishments, allow the eggs to dry completely. Once dry, apply a final coat of Mod Podge or white glue over the entire surface of the egg to seal the design and give it a glossy finish. Allow the eggs to dry completely before displaying them as part of your Easter decor.

Step 6: Display and Enjoy
Now that your decoupage eggs are complete, it's time to display them proudly as part of your Easter decor. Arrange them in a decorative bowl or nest, or use them as eye-catching placeholders for your Easter table setting. However you choose to display them, these stunning decoupage eggs are sure to be a conversation starter and a highlight of your Easter celebrations!
With our free 'Dynasty of Nature' printable design and a few simple crafting supplies, you can easily create exquisite decoupage eggs that will add a touch of elegance and sophistication to your Easter decor. Whether you're crafting alone or with family and friends, this creative project is a delightful way to usher in the spirit of Easter and showcase your artistic flair. So why wait? Download the design, gather your supplies, and let your creativity soar this Easter season!


